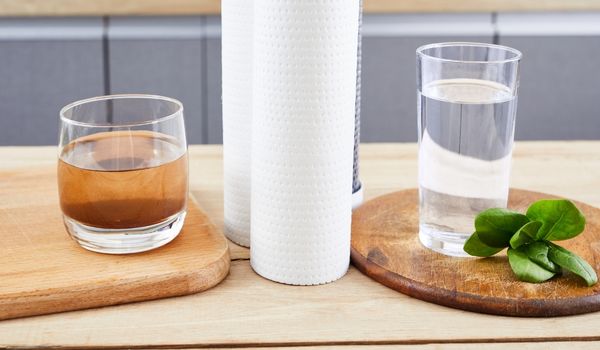
If your water’s tasting off or slowing to a drip, it might be time for a filter swap.
Reverse osmosis systems are great at purifying water — but to keep yours running like new, regular filter changes are a must. The good news? Replacing them is easier than it sounds. No plumber needed. No chemistry degree required. Just a few tools, a little patience, and this quick guide.
Let’s walk through when to replace your filters, how to do it, and what happens if you don’t.
✅ Quick Takeaways
- 💧 A drop in water pressure, strange taste, or high TDS can signal it’s time
- 📆 Pre-filters usually last 6–12 months; membranes can last 2–3 years
- 🔧 Most filter swaps are DIY — you’ll just need basic tools and your owner’s manual
- 🚱 Delaying replacement can lead to clogs, bacteria growth, or poor water quality
- 🧪 A TDS meter helps track your filter’s performance — here’s how to use one
🚨 When to Replace Your RO Filters

If your reverse osmosis system isn’t performing like it used to — it might be time to swap out the filters. These systems can run smoothly for months, but when filters wear out, the signs are usually pretty clear.
Here’s what to watch for:
| 🔍 Symptom | ⚠️ What It Means | 🛠️ What To Do |
|---|---|---|
| ⬇️ Slow Water Flow | Filters are likely clogged with sediment or debris | Replace pre-filters and check membrane age |
| 👃 Off Taste or Odor | Carbon filter has lost its absorption power | Swap the post-filter or carbon stage |
| 🌫️ Cloudy Water | Membrane may be worn out or compromised | Inspect and replace RO membrane if needed |
| 📈 High TDS Reading | System isn’t removing dissolved solids properly | Test with a TDS meter and replace membrane |
Don’t ignore the signs — running your system with worn-out filters means you’re not getting the clean, filtered water you paid for. And worse, you could be drinking water that’s less safe than you think. Regular replacements keep everything working like it should.
🔍 Choosing the Right Filter for Your RO System

Not all reverse osmosis filters are created equal — and choosing the right replacement can make a big difference in water quality and system performance.
Here’s what to consider before you buy:
- 🧪 Know What You’re Filtering Start with a water test. It’ll tell you what’s in your tap — chlorine, heavy metals, or bacteria — so you can pick the right filter for the job. This guide to water testing can help.
- 🧩 Match Your System Check your RO system’s model or brand. Many filters look similar, but they’re not always interchangeable.
- 📅 Think About Lifespan Pre-filters typically last 6–12 months, post-filters 12–24 months, and membranes 2–3 years. Consider how often you want to replace them — or if you’d prefer a longer-lasting option.
- 💲 Quality vs. Cost More expensive doesn’t always mean better — but extremely cheap filters can underperform. Look for certified brands and read reviews when possible.
- 🤔 Considering a New System? If your current setup is outdated or always needing repairs, it might be time for an upgrade. Explore our top-rated reverse osmosis systems for cleaner water and fewer hassles.
🔧 How to Replace Your RO Filters (Step-by-Step)
ASwapping out filters might seem intimidating, but most reverse osmosis systems are DIY-friendly — no plumber required. Just follow these steps and keep a towel nearby (trust us).
🧰 What You’ll Need:
- Replacement filters (make sure they match your system)
- Towel or bucket (for any spills)
- Wrench or pliers (for tight connections)
- Teflon tape (optional, for resealing)
🪛 Step-by-Step:
- Shut Off the Water Turn off the valve that feeds your RO system.
- Depressurize the System Open the RO faucet to release built-up pressure.
- Remove the Old Filters Use a filter wrench or pliers if needed. Be gentle to avoid damaging connections.
- Dispose Responsibly Toss your old filters according to local guidelines (some need special handling).
- Install the New Filters Insert them into the housing, ensuring a snug fit. Don’t overtighten.
- Turn the Water Back On Slowly reopen the valve and check for leaks.
- Flush the System Run the system for a few minutes to clear out any air and loose carbon dust.
- Check TDS (Optional but Smart) Use a TDS meter to confirm your filter is working properly.
📅 Pro Tip: Set a calendar reminder now for your next filter change. Staying on schedule keeps your water clean — and your system running like new.y consistently clean and purified drinking water in the comfort of your own home.
🛠️ Common Issues When Swapping RO Filters

Even with a solid step-by-step, things don’t always go smoothly. Here’s a quick reference if you run into hiccups.
👇 Troubleshooting
| ❗ Issue | 🔍 What It Means | 🛠️ Quick Fix |
|---|---|---|
| 💧 Water Leak | Loose or cross-threaded connection | Turn off water, reseat the filter, and re-tighten gently |
| 🫧 Air in the Line | System wasn’t flushed fully after install | Run water for 5–10 minutes to purge air bubbles |
| 🫤 Bad Taste Returns | Old post-filter or clogged membrane | Replace both if past lifespan, and check TDS reading |
| 🚿 Slow Water Flow | Clogged pre-filter or airlock in system | Flush system, then check pre-filter and tubing for blockages |
| 📈 High TDS Reading | Worn-out membrane or incorrect installation | Check membrane orientation and replace if needed |
🧠 Good to Know: If your TDS levels are still high or the taste seems off after a fresh filter install, give your system a full flush cycle — and always double-check the filter orientation.
🧠 Final Thoughts
Replacing your RO filters might feel intimidating at first, but once you’ve done it once, it’s truly a breeze.
With just a few basic tools — and a little know-how — you can keep your drinking water clean, crisp, and contaminant-free. Most systems only need filter changes a couple of times per year, and doing it yourself saves time and money.
💡 Pro Tip: Mark your calendar or set a phone reminder for your next replacement. That simple habit keeps your system running smoothly year-round.
Whether you’re working with a compact under-sink model or a more advanced setup, the steps are nearly always the same — shut off the water, swap the filters, flush the system, and enjoy better-tasting water.
Clean water doesn’t have to be complicated.
 119 people found this helpful. Was this guide helpful to you?

